
Here is a simple tutorial in making a collage. I enjoy using Photoshop for my images taken with my camera. This tutorial is very fun and simple. So for the more advanced
Photoshop user, this tutorial would be too simple. I like to start out by putting some of my favorite images on my Desktop, so that it is easily accessible when you need to pick out the ones you will be using.
You can use as many as you want, but you need to remember that you will have to calculate dimensions, cropping, resizing the images in order for them to fit on your collage. I suggest using about five to six photos. That way later on you’ll be able to make more advance collages with borders, etc.
You should start out by drawing a simple template on a piece of paper. You can get ideas off the internet by searching for templates used for collages. You may also have one of those picture frames that have all different shapes, such as ovals, rectangles, circles, squares, etc. But those take a little more time to create. So I would just stick to something simple until you get the hang of it.
First, pick out the photos that you may want to use and put them on your desktop. [So that it is easily accessible] I try to pick out maybe six to seven photos and place them on my desktop. Because you may not want to use all of them. But you can always use them for another collage later on.
Open Photoshop I use Photoshop CS6. If you don’t have Photoshop, there is a free photo editing program that you can install on your computer from the internet. Just Google : Gimp
Okay let’s get started.
Step 1: Click on ‘File’ and select ‘New’. Set the dimensions to: (Width: 1024, Height: 768) and click on ‘OK’
![Making Simple Collage [Step 1 A]](http://techthingsareneat.com/wp-content/uploads/2014/10/Making-Simple-Collage-Step-1-A.jpg)
![Making Simple Collage [Step 1 B] [Canvas]](http://techthingsareneat.com/wp-content/uploads/2014/10/Making-Simple-Collage-Step-1-B-Canvas.jpg)
Step 2: Right-Click the photo on your Desktop that you want to use and select, ‘Open With’ and click on ‘Adobe Photoshop’ or ‘Gimp’ [this will open the Photoshop or Gimp program]
![Making Simple Collage [Step 2]](http://techthingsareneat.com/wp-content/uploads/2014/10/Making-Simple-Collage-Step-2.jpg)
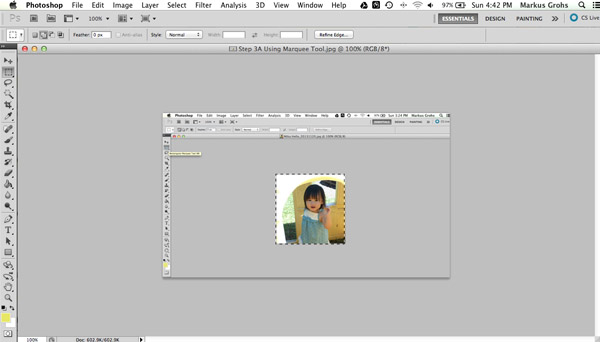
Step 3: Now use your ‘Rectangular Marquee Tool’ (M) and outline the image. [You may need to resize the image]
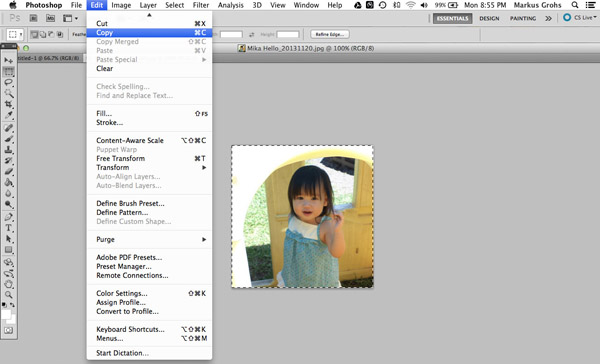
While the image is outlined, go to ‘Edit’ and select ‘Copy’
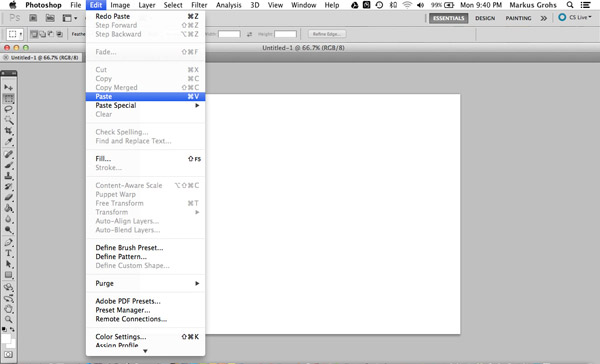
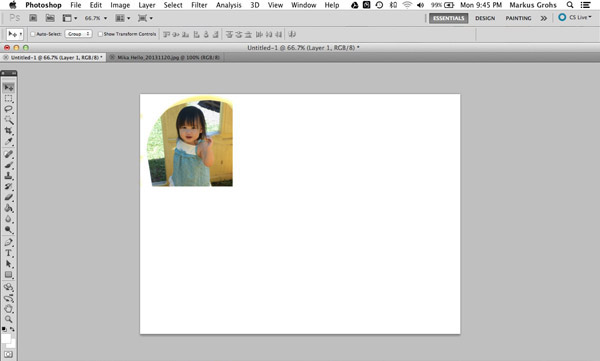
Now go to your canvas (I just keep the canvas as ‘Untitled’ , or you can save it as, ‘Collage_1’). Select ‘Edit’ and click on ‘Paste’
You can now see the image copied on the canvas.
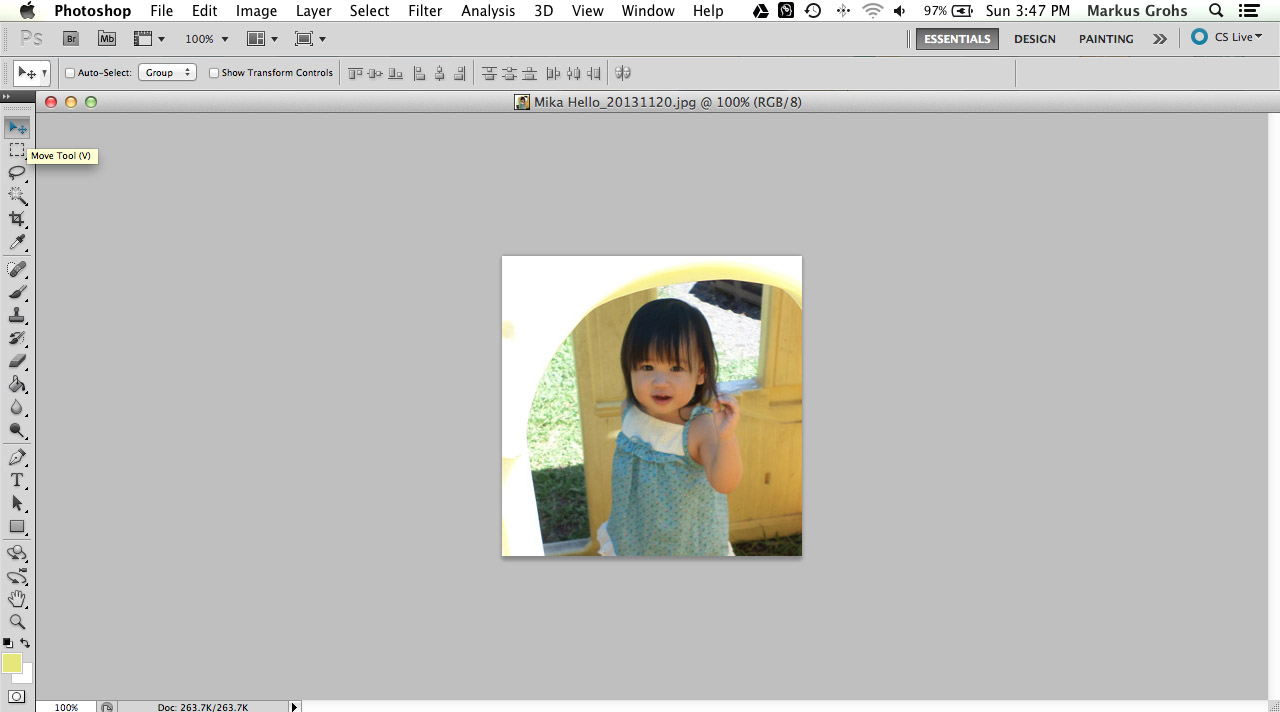
Step 4: Select the ‘Move Tool’ (V). Grab the image and move to where you want it on the canvas. Set it where you want it on the canvas.
You may need to resize and crop the images.To add more images, repeat Steps 2 to 4 as needed.
I didn’t want to make this tutorial too complicated. You just have to play with different values to resize the images.
Here are snapshots on how to resize images.
Step 1: Resizing Image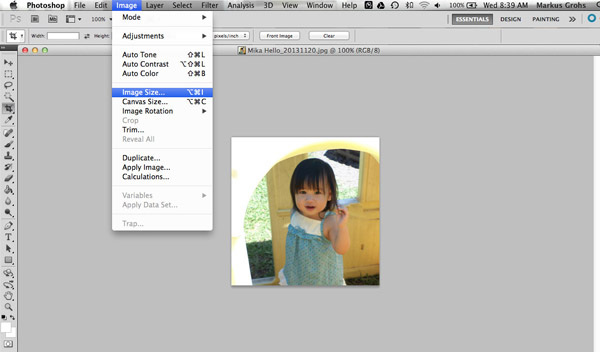
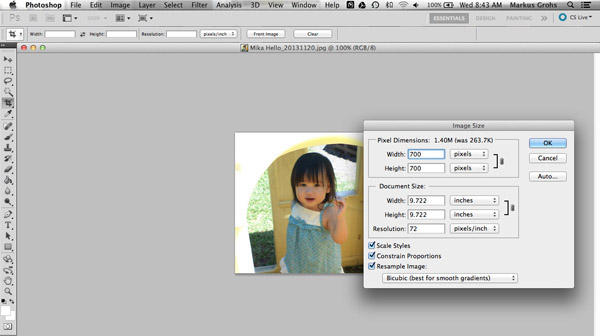
Step 2: Resizing Image
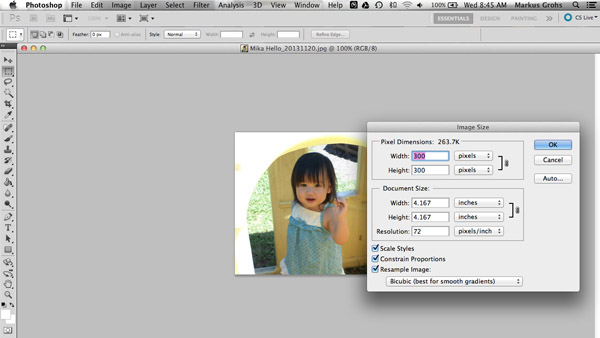
Step 3: Resizing Image
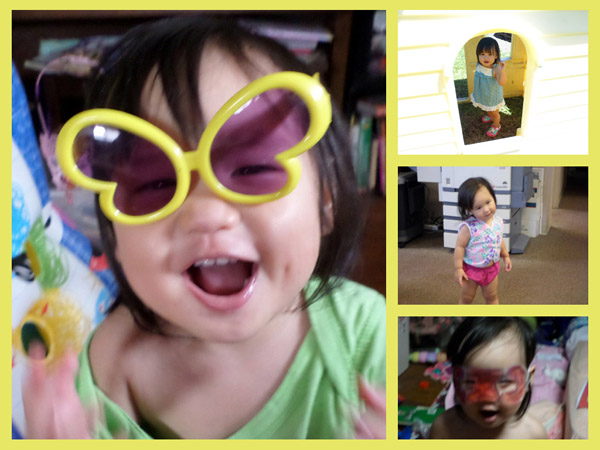
Here is the finished product. I used borders on mine. Once you get the hang of it, it will be fun to make your own personal collage and maybe for others. Just experiment and enjoy.